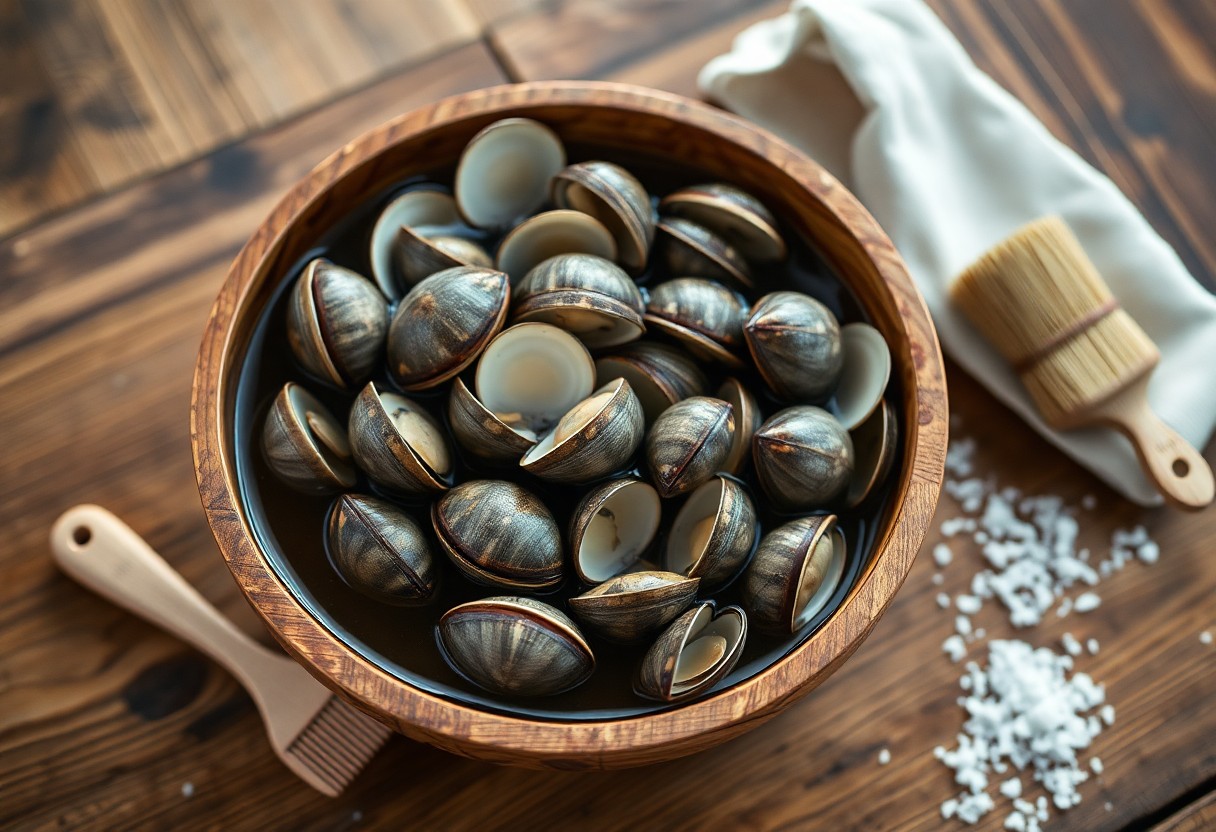
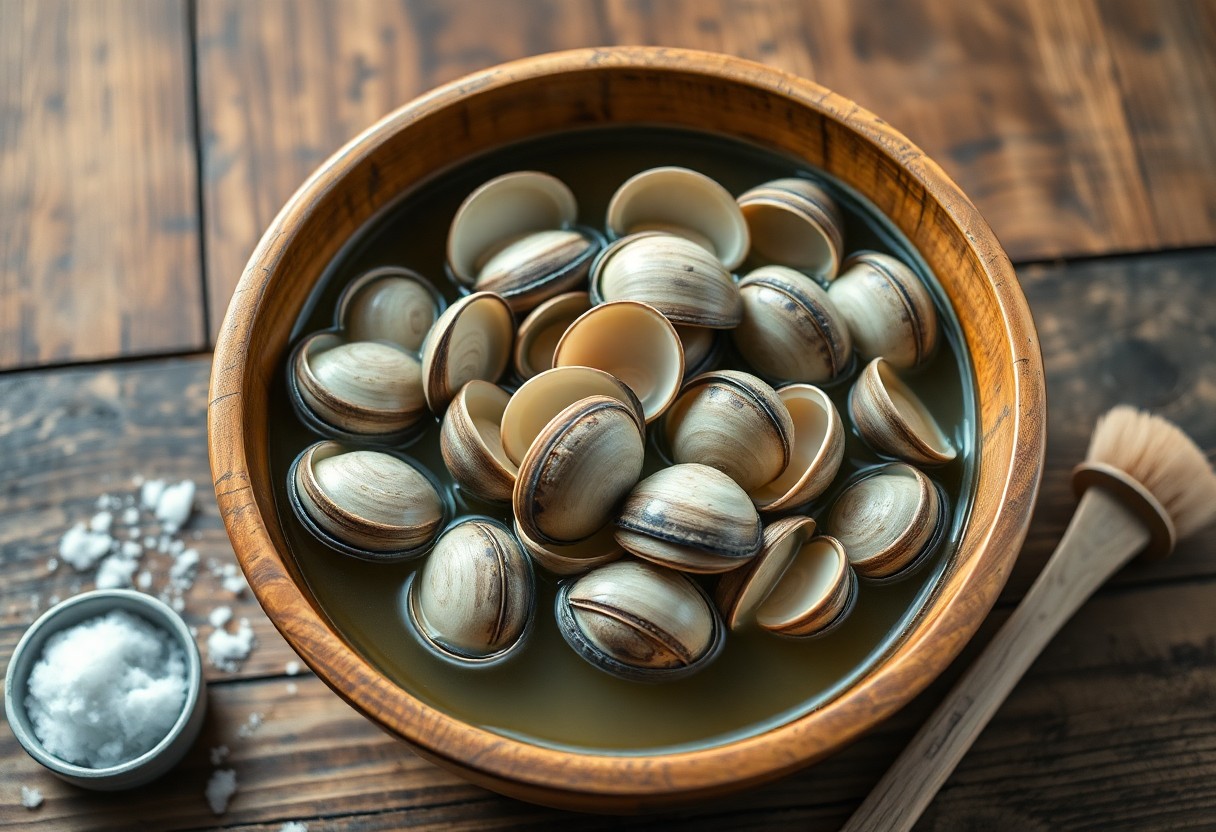
Just like any seafood, cleaning clams properly is crucial for ensuring they are safe and delicious to eat. You’ll need to purge the clams to remove any sand and grit they may contain, which can significantly affect the taste of your dish.
In this guide, you’ll learn how long to let your clams purge, the best methods to do so, and how to ensure they’re at their freshest for your next culinary creation. Your informatively cleaned clams will keep your dining experience enjoyable and safe.
Key Takeaways:
- Clams should be purged for at least 2 hours, but ideally 6-12 hours, to effectively eliminate sand and grit.
- Place clams in a bowl with saltwater — about 1/3 cup of salt per gallon of water — to mimic their natural habitat and encourage purging.
- Change the water every few hours and keep the clams in a cool, dark place to promote better cleaning results.
Types of Clams
While exploring clams, it’s crucial to understand the different types available. Here’s a quick overview of the most common varieties:
| Hard Clams | Also known as quahogs, these clams have thick shells and a chewy texture. |
| Soft Shell Clams | Characterized by their fragile shells, they’re often found buried in sand. |
| Cockles | Small, rounded clams with ribbed shells, typically enjoyed in various cuisines. |
| Manila Clams | Sweet and tender, these clams are popular in Asian dishes. |
| Steamers | Known for their unique flavor, they’re ideal for steaming or boiling. |
This variety allows you to choose based on texture and culinary use.
Hard Clams
An important category, hard clams are often used in chowders and pasta dishes due to their firm texture. You’ll find them in various sizes, with the largest being the cherrystone variety. When cooked, their flavor becomes deeper and more robust, making them a versatile component in many recipes. Identifying them is straightforward—they have a robust, thick shell that can withstand rough handling.
Soft Shell Clams
Any time you consider a light and delicate dish, soft shell clams should be on your list. These clams are softer, making them more challenging to clean but worth the effort for their tender, sweet meat. They are typically used in steaming and frying, bringing a unique flavor to broths and sauces.
Clams, a popular delicacy, require careful handling, especially soft shell clams. They often harbor bacteria and sand, which can pose health risks if not properly purged. Cleaning them involves soaking in fresh water to help expel dirt and grit. To enhance flavor, you might consider adding salt to the water, but pay attention to purging time—typically 30 minutes to a couple of hours depending on their size. A thorough cleaning process ensures you enjoy the best of these delicious shellfish while minimizing any potential health risks.
Factors Influencing Purging Time
There’s a range of factors that impact how long clams need to purge effectively. These include:
- Type of clam
- Size of the clam
- Water temperature
- Clam’s overall health
Perceiving these elements will aid you in determining the optimal purging time for your shellfish, ensuring delicious results.
Type of Clam
There’s significant variation in purging times depending on the type of clam. Different species, such as littlenecks and cherrystones, may require different durations for effective cleansing.
Environment and Habitat
To successfully purge clams, consider the environment and habitat where they were harvested. Clams from clean, unpolluted waters typically require less time to purge, as they are less likely to accumulate toxins.
The environment affects the clams’ cleansing process significantly. Harvesting clams from areas impacted by pollution can lead to longer purging times due to the higher likelihood of absorbed contaminants. Additionally, factors such as salinity and temperature of the water contribute to how efficiently clams can detoxify. If you prioritize clams from pristine environments, you can dramatically reduce your purging time, enhancing both safety and flavor for your dishes.
Step-by-Step Guide to Purging Clams
After gathering your clams, follow this simple guide for purging them effectively. This process ensures your clams are free of sand and grit, enhancing your culinary experience.
| Step | Description |
| 1 | Preparation of the clams |
| 2 | Soaking process |
Preparation
On your initial step, rinse the clams under cold water to remove any visible dirt or debris. Inspect them for any damaged shells, as these can lead to spoilage. It’s necessary to choose fresh, live clams for the best results.
Soaking Process
Assuming your clams are properly prepared, it’s time to soak them in a mixture of saltwater. Use about 1/3 cup of sea salt per gallon of water to replicate their natural habitat, enabling them to purge sand more effectively.
With this soaking process, place the clams in the saltwater solution and allow them to sit for at least 30 minutes, up to two hours. Keep them in a cool, dark place during this time, as too much light can stress the clams. This soaking method is vital for ensuring that any remaining sand or grit is expelled safely. After soaking, gently rinse the clams again to eliminate any remaining dirt before cooking.
Tips for Effective Purging
Despite the simple process of purging clams, there are some important tips to ensure you do it effectively. Consider the following:
- Using a large container to hold the clams
- Changing the water frequently
- Ensuring the water is aerated
- Keeping the container in a cool location
The combination of these methods will enhance the purging process.
Frequency of Water Changes
With proper purging, it’s crucial to change the water regularly. Aim to change it every 30 minutes to 1 hour to ensure the clams have a fresh environment to expel sand and impurities. This practice not only helps in effective purging but also keeps your clams safe for consumption.
Optimal Salt Concentration
Purging clams effectively also involves finding the right salt concentration in the water. Generally, a 1 to 3% salt solution is ideal for maintaining their natural habitat. This helps clams to stay healthy while they expel impurities, ensuring a cleaner end product. When you create the saltwater solution, always use non-iodized salt to prevent any negative reactions. The salinity can mimic ocean conditions, which is vital for successful purging and will help you enjoy cleaner and tastier clams.
Pros and Cons of Purging Clams
To fully understand the impact of purging clams, it’s imperative to weigh both the advantages and disadvantages. Below is a breakdown of the pros and cons:
Pros and Cons of Purging Clams
| Pros | Cons |
|---|---|
| Removes sand and grit | Time-consuming process |
| Improves flavor and texture | Requires attention and regular monitoring |
| Enhances food safety | Can lead to a loss of natural brininess |
| Promotes cleaner cooking | Not all clams will purge effectively |
| May prolong shelf life | Some methods can alter taste |
Benefits of Cleaning Shellfish
Little effort is needed to see the benefits of cleaning your shellfish. By purging clams, you enhance their flavor and ensure they are safe to eat. This process helps to remove unwanted grit, resulting in a more enjoyable dining experience. A clean clam can elevate your dish and impress your guests, making it well worth the time spent on purging.
Drawbacks to Consider
Purging clams may seem straightforward, but there are also drawbacks you should consider. Cleaning improperly can lead to foodborne illnesses if clams are not handled right. Additionally, clams that are purged for too long may lose their flavorful briny essence, which is an important characteristic of fresh shellfish. It’s imperative to strike a balance between ensuring cleanliness and maintaining the natural flavors that make clams so delightful.
Cleaning your clams properly involves a careful approach to ensure safety and taste. Not only do you want to avoid contaminating your meal with potential bacteria, but you also want to enhance the dish’s overall flavor. Over-purging can lead to blandness and a less desirable eat; thus, maintaining the right balance will allow your clams to shine while keeping your meal safe and enjoyable.
Additional Resources for Shellfish Cleaning
Not every resource on shellfish cleaning will give you the accurate information you need to ensure your clams are safe to eat. To help you gather more insights, consider checking out reputable websites, such as the National Oceanic and Atmospheric Administration (NOAA), or your local health department for guidelines specific to your area. Additionally, cookbooks dedicated to seafood can provide step-by-step instructions on cleaning and preparing various shellfish. Exploring these resources will enhance your knowledge and improve your shellfish cooking experiences.
Summing up
Summing up, purging clams effectively ensures that you enjoy clean and safe shellfish. Typically, you should allow your clams to purge for at least 4 to 24 hours in clean, salted water. Regularly changing the water can enhance this process, helping to remove sand and grit. Keep in mind the type of clams may affect purging times, so adjust accordingly. By following these guidelines, you can elevate your culinary experience and savor fresh, delicious clams in your next seafood dish.
FAQ
Q: How long should clams be purged before cooking?
A: Clams generally require a purging time of about 1 to 2 hours if they are freshly harvested. This period allows them to expel sand and grit from their bodies. For optimal results, place the clams in a bowl or container filled with clean, salted water, simulating their natural habitat.
Q: What type of water is best for purging clams?
A: The ideal water for purging clams is clean, aerated, and slightly salty. You can create a saltwater solution by mixing 1/3 cup of non-iodized salt with 1 gallon of fresh water. This mimics seawater and encourages the clams to expel any sand and impurities they may harbor.
Q: Do I need to keep the clams in the refrigerator while they purge?
A: Yes, it’s advisable to purge clams in the refrigerator. Keeping them cool is important to maintain their freshness and prevent any spoilage while they expel sand and debris. Ensure they are in a well-ventilated container and covered with a damp cloth to keep them moist.
Q: Can I use a different method for cleaning clams aside from purging?
A: While purging is the most effective method for cleaning clams, you can also rinse them under cold running water to remove surface grit. Use a brush to scrub the shells gently, particularly if there is any visible dirt. However, this method does not ensure the removal of all sand inside the clams.
Q: What should I do if the clams do not open after cooking?
A: If clams do not open after cooking, it is important to discard them. Closed shells can indicate that the clam was dead before cooking, posing a risk for foodborne illness. Always ensure to steam or boil clams sufficiently, as this will encourage them to open and help assure they are safe to eat.